Name Manager
The Name Manager lets you assign custom names to specific cells or ranges, making them easier to reference in formulas.
How to Use It
Click the Named Ranges dropdown on the left side of the formula bar.
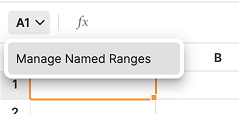
In the menu, click Manage Named Ranges. A drawer will open on the right side of the screen.
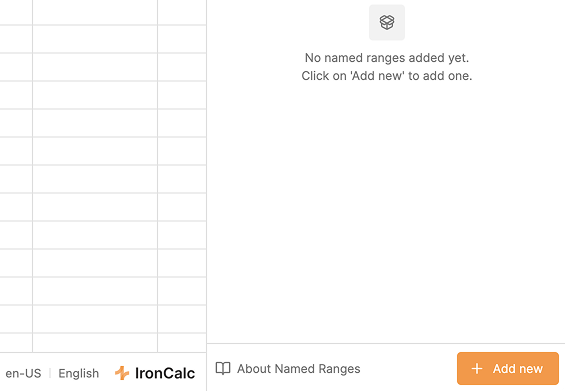
In the footer of the drawer, click Add New.
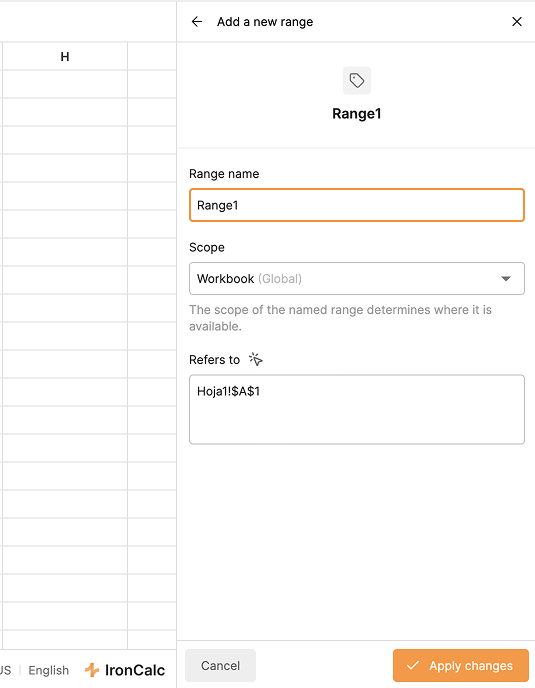
- Enter a name to identify the range.
- Set the scope:
- Global: Applies to the entire workbook.
- Sheet-specific: Applies only to the selected sheet.
- The Refers to field shows the current selection. To change it, type a new reference or select a different cell/range and click the cursor button next to the label.
- Click on Apply changes to save, or X to cancel.
Managing Named Ranges
- Click the Named Ranges dropdown to see all existing named ranges. Clicking any of them will select that range in the canvas.
- From the menu, click Manage Named Ranges to open the drawer.
- In the drawer, click any named range to select it on the canvas.
- To edit a range, click the pencil button.
- To delete a range, click the trashcan icon.
Searching and Filtering
Use the search input above the list to find a named range by name. To narrow the list by scope, use the filter to show All, Global, or Current sheet ranges only.